Have you ever wondered how to keep your ute's tray in pristine condition, even after years of hard work and heavy loads? Are you tired of scratches, dents, and rust compromising the functionality and appearance of your trusty workhorse? Perhaps you've considered installing ute tray mats but found yourself overwhelmed by the options and unsure where to start.
Ute tray mats are more than just an afterthought; they're an essential investment in protecting and preserving your vehicle's value and utility. But with so many types, materials, and installation methods available, choosing and installing the right mat can seem like a daunting task. This comprehensive guide aims to demystify the process, providing you with all the information you need to make an informed decision and achieve a professional-quality installation.
In this article, we'll dive deep into the world of ute tray mats, exploring everything from material selection to customization options. We'll walk you through the entire process, from accurate measurement techniques to troubleshooting common installation issues. Whether you're a DIY enthusiast looking to tackle the project yourself or simply want to understand the process better before consulting a professional, this guide will equip you with the knowledge and confidence to ensure your ute tray is protected in style. So, let's roll up our sleeves and transform your ute's tray into a durable, functional, and great-looking workspace.
Understanding Ute Tray Mats: More Than Just Protection
When it comes to ute tray mats, many vehicle owners initially think of them as simple protective coverings. However, these versatile accessories offer far more than just basic safeguarding against scratches and dents. To truly appreciate the value of ute tray mats, it's essential to understand the various types available and how they can benefit your vehicle in different ways.
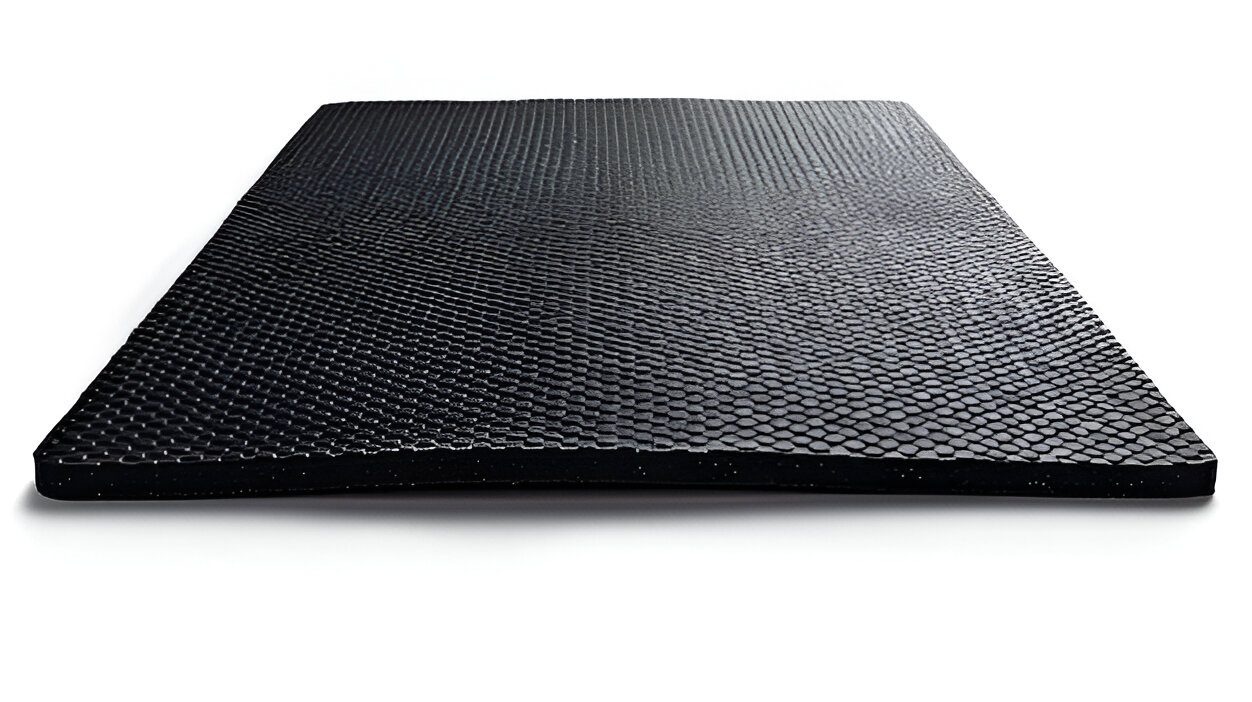
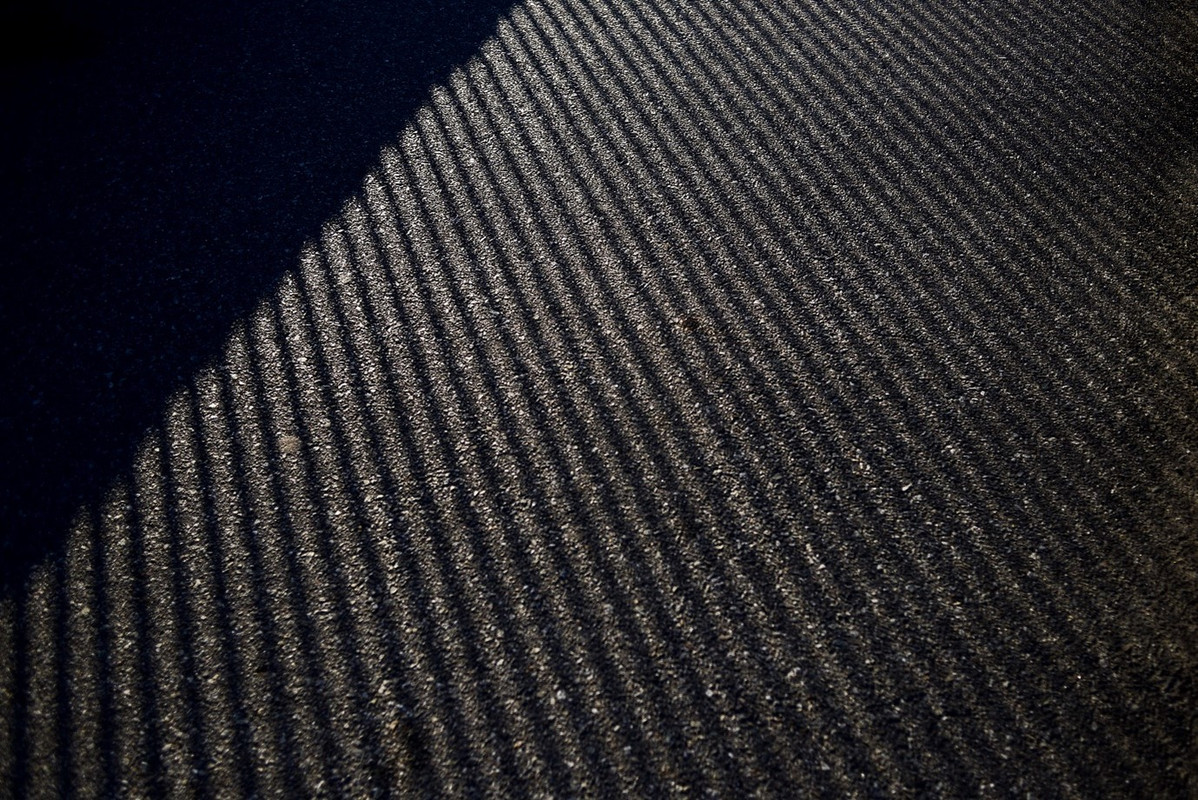
The most common types of ute tray mats include rubber, carpet, and aluminium. Rubber mats are known for their durability and water-resistance, making them ideal for those who frequently transport wet or muddy cargo. They're also excellent at absorbing impact, which can help protect both your tray and your cargo from damage. Carpet mats, on the other hand, offer a softer surface that's perfect for delicate items and can add a touch of comfort and style to your ute's appearance. Aluminium mats provide superior strength and are often the go-to choice for heavy-duty applications where maximum protection is required.
Each material comes with its own set of properties that make it suitable for different needs. For instance, rubber mats are easy to clean and maintain, while carpet mats can help reduce noise and vibration during transit. Aluminium mats are incredibly long-lasting and can withstand extreme temperatures, making them ideal for harsh working environments. By understanding these differences, you can select a mat that not only protects your ute but also enhances its functionality for your specific needs.
Measuring Up: Getting the Perfect Fit
One of the most critical steps in ensuring a successful ute tray mat installation is obtaining accurate measurements of your tray. A poorly fitted mat not only looks unprofessional but can also compromise its protective capabilities and potentially create safety hazards. To help you achieve the perfect fit, let's walk through a step-by-step guide to measuring your ute tray accurately.
Begin by thoroughly cleaning your tray to ensure no debris or obstructions will affect your measurements. Next, use a sturdy tape measure to record the length and width of the tray at multiple points, as tray dimensions can sometimes vary slightly. Don't forget to measure the height of the tray walls if you're considering a mat with raised edges. It's also crucial to note the location of any tie-down points, drainage holes, or other features that your mat will need to accommodate.
Common pitfalls in measurement often occur when dealing with irregular tray shapes or features. For instance, some utes have tapered trays that are wider at the tailgate than at the cab end. In such cases, be sure to measure both the widest and narrowest points. Additionally, take note of any curves or contours in the tray floor, as these will need to be accounted for in your mat selection or installation process. By taking the time to measure carefully and thoroughly, you'll save yourself potential headaches down the line and ensure a snug, professional-looking fit for your new ute tray mat.
Preparation is Key: Setting the Stage for Installation
Before diving into the installation process, proper preparation is crucial to ensure a smooth and successful outcome. This stage sets the foundation for your ute tray mat installation, and taking the time to prepare adequately can make a significant difference in the final result. Let's explore the key steps in preparing your ute tray for mat installation.
First and foremost, thoroughly clean your ute tray surface. This step is vital not only for accurate measurements but also for ensuring proper adhesion if you're using a mat that requires it. Use a degreaser to remove any oil or grime, followed by a thorough rinse and dry. For stubborn stains or rust spots, you may need to use a wire brush or sandpaper to create a smooth surface. Once clean, inspect the tray for any damage that might need repair before installing the mat.
Next, gather all the necessary tools and materials. Depending on the type of mat you're installing, you might need items such as a utility knife, scissors, measuring tape, marker, adhesive, and cleaning supplies. Having everything on hand before you start will prevent unnecessary interruptions during the installation process. It's also wise to choose an ideal working environment. If possible, work in a covered area to protect against unexpected weather changes, and ensure you have adequate lighting to see details clearly.
The Installation Process: A Detailed Walkthrough
With your ute tray cleaned and prepared, and all necessary materials at hand, it's time to dive into the installation process. This step-by-step walkthrough will guide you through positioning, cutting, and securing your ute tray mat for a professional-looking result.
Begin by carefully positioning the mat in your ute tray. If your mat comes in one piece, start by aligning it at one end of the tray, usually the cab end, and gradually unroll or unfold it towards the tailgate. For mats that come in multiple pieces, refer to the manufacturer's instructions for the correct placement order. Take your time to ensure the mat is centered and aligned properly before moving on to the next step.
Once positioned, you may need to cut and trim the mat for a custom fit. Use your earlier measurements as a guide, and remember the carpenter's adage: measure twice, cut once. For most materials, a sharp utility knife will suffice for cutting. When trimming around obstacles like tie-down points or drainage holes, it's often best to make a small initial cut and then gradually enlarge it for a precise fit. Take care not to rush this process, as careful cutting will result in a much neater appearance.
Finally, secure the mat in place. The method for this will depend on the type of mat you've chosen. Some mats come with pre-applied adhesive strips; for these, carefully peel off the backing and press the mat firmly into place. Other mats may require you to apply adhesive yourself or use mechanical fasteners like screws or clips. Whatever method you use, ensure the mat is securely attached, paying special attention to the edges and corners to prevent lifting or shifting during use.
Tackling Common Challenges
Even with careful preparation and measurement, you may encounter some challenges during the installation process. These often revolve around dealing with the unique features of your ute tray. Let's explore some common issues and how to address them effectively.
One of the most frequent challenges is navigating around drainage holes and tie-down points. These features are crucial for your ute's functionality and can't be covered up. When cutting your mat to accommodate these points, it's often best to create a slightly larger opening than necessary and then use a sealant or specialized grommets to ensure a watertight fit around the edges. This approach not only maintains the tray's drainage capabilities but also prevents water from seeping under the mat.
Another common issue arises when installing mats around toolboxes or other accessories already present in the tray. In these cases, you have two main options. You can either cut the mat to fit around these accessories, which requires precise measurement and cutting, or you can remove the accessories temporarily for a full mat installation and then reinstall them on top of the mat. The latter option often provides a cleaner look but may not be feasible for all types of accessories.
Dealing with curved or sloped tray sections can also be challenging. For these areas, you may need to heat the mat material (if it's plastic or rubber) to make it more pliable and conform to the curve. Alternatively, for severe curves or slopes, you might consider using multiple smaller pieces of matting instead of trying to force a single large piece to conform. This approach can provide better coverage and a more secure fit in tricky areas.
Beyond Basic Installation: Customisation Options
Once you've successfully installed your ute tray mat, you might want to consider some customization options to further enhance its functionality and appearance. These additional touches can transform your ute tray from merely protected to perfectly tailored for your specific needs and style preferences.
One popular customization option is adding extra features like anti-slip surfaces or padding. Anti-slip treatments can be particularly useful if you frequently transport items that tend to slide around during transit. These can be applied as a spray-on coating or added as separate grip pads in key areas. For those who often climb into their tray or kneel on it while working, adding extra padding in specific zones can significantly increase comfort and reduce fatigue.
Incorporating branding or personal touches is another way to make your ute tray mat uniquely yours. This could be as simple as adding your company logo or as creative as integrating a custom design. Many mat manufacturers offer personalization services, or you could consider applying decals or stencils yourself. Remember, however, that any additions should not compromise the mat's primary protective function.
For those seeking ultimate functionality, combining different mat types might be the answer. For example, you could use a durable rubber mat as a base layer for general protection, with removable carpet sections in areas where you frequently place delicate items or need a softer surface. This hybrid approach allows you to benefit from the strengths of multiple materials, creating a truly customized solution for your specific needs.
Conclusion
As we wrap up this comprehensive guide to installing ute tray mats, it's clear that this seemingly simple accessory can have a significant impact on the functionality, longevity, and appearance of your vehicle. We've journeyed through the entire process, from understanding the different types of mats available to tackling common installation challenges and exploring customization options.
The key takeaways from this guide emphasize the importance of careful preparation, accurate measurement, and attention to detail during installation. By following these steps and considering the unique needs of your vehicle and work requirements, you can achieve a professional-quality result that not only protects your ute but also enhances its utility.
Remember, installing a ute tray mat is more than just a protective measure; it's an investment in your vehicle's future. A well-chosen and properly installed mat can prevent costly damage, maintain your ute's resale value, and even improve your day-to-day work experience. Whether you're a tradesperson relying on your ute for daily work or a weekend warrior who loves outdoor adventures, a quality tray mat is an essential addition to your vehicle.
We encourage you to take on this project with confidence, armed with the knowledge and insights provided in this guide. Don't be afraid to get creative with customization options to truly make your ute tray work for you. And if you encounter any challenges along the way, remember that patience and precision are your best tools.
Ultimately, the effort you put into selecting and installing the right ute tray mat will pay dividends in the form of a protected, functional, and great-looking workhorse that's ready for whatever challenges you throw its way. So go ahead, roll up your sleeves, and transform your ute tray into the ultimate protected workspace. Your future self (and your ute) will thank you for it!